Paper coupons still work in some restaurants, but they are awkward to manage. You print too many, they get lost, and if someone brings one back you still have to guess whether the promotion actually paid off.
Generic discount codes have a different problem: they travel. One shared code can end up in group chats or on coupon sites, and suddenly the offer is not really tied to the campaign anymore.
A cleaner setup is a trackable digital coupon where each guest gets their own voucher. With Coupon Carrier, you can send those vouchers by email and let staff redeem them at the counter with a Mark as Used button on the customer's phone. No scanner. No POS integration. No extra hardware.
Here is how that setup works.
Every restaurant coupon campaign has two jobs. First, get the offer to the guest. That might be through email, a signup form, a printed QR code, or an insert in a takeaway bag. Second, make sure the offer can only be redeemed once.
This guide uses the Mark as Used method. The guest opens the voucher on their phone, staff check the offer, and then staff tap the button to redeem it.
If you are not sure whether Mark as Used or QR scanning is better for your campaign, see which validation method to use.
You can use this setup with:
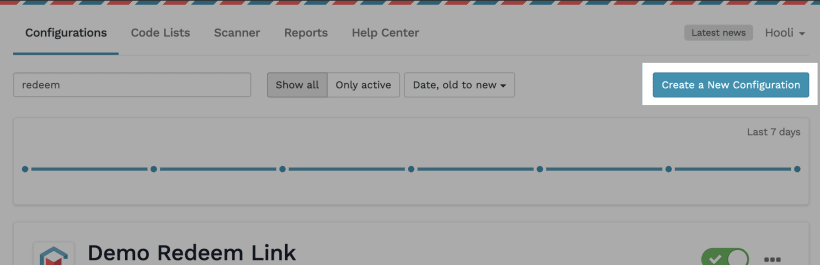
If you have not already, create a Coupon Carrier account. In this walkthrough, we will use the Redeem Link feature. It creates a unique voucher link for each person in your campaign.
When the guest opens the link, they land on a simple voucher page showing their offer.
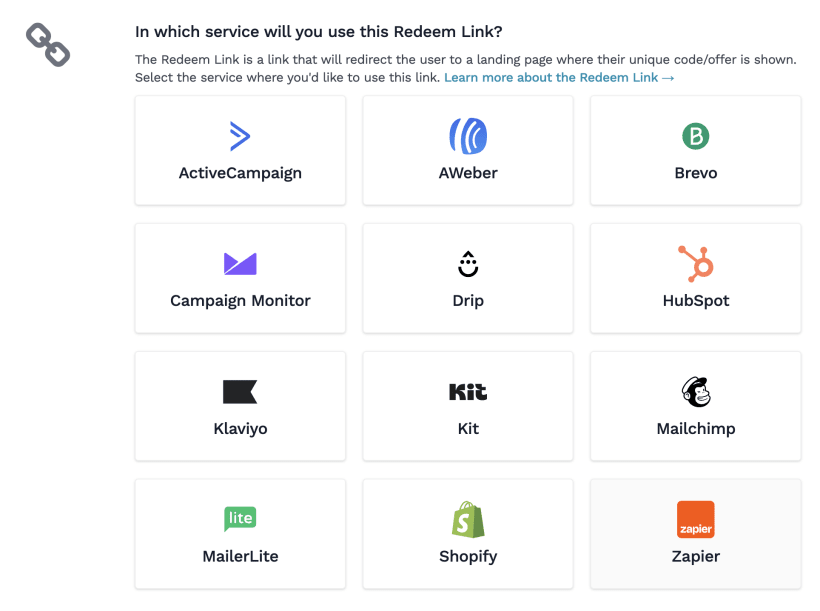
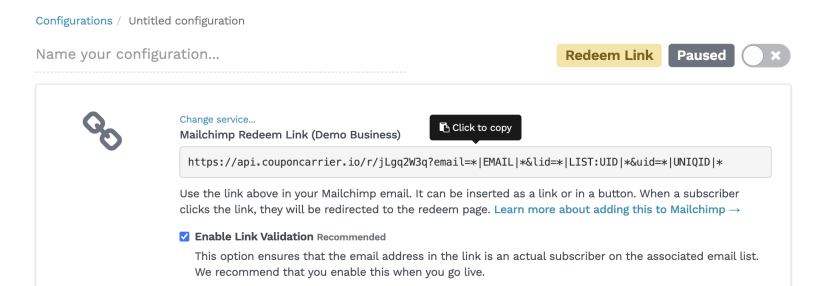
Choose the email service you use to send offers. The Redeem Link can include recipient data for fraud protection, so some services need to be connected to Coupon Carrier before validation works.
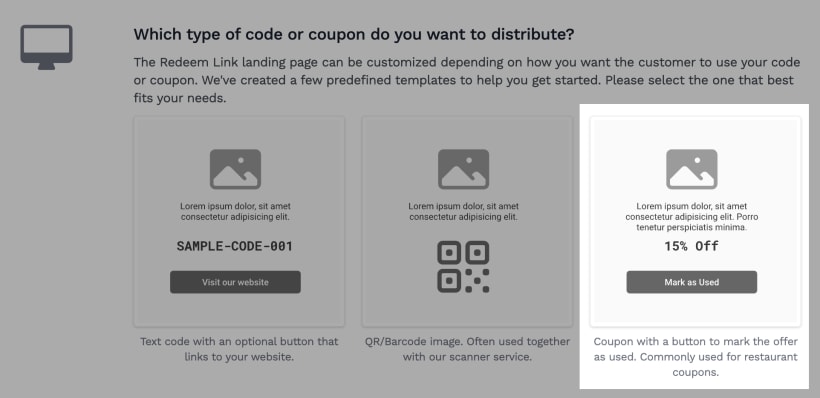
Next, customize the voucher page where the offer appears. In this example, we will use a page that staff can mark as used on location.
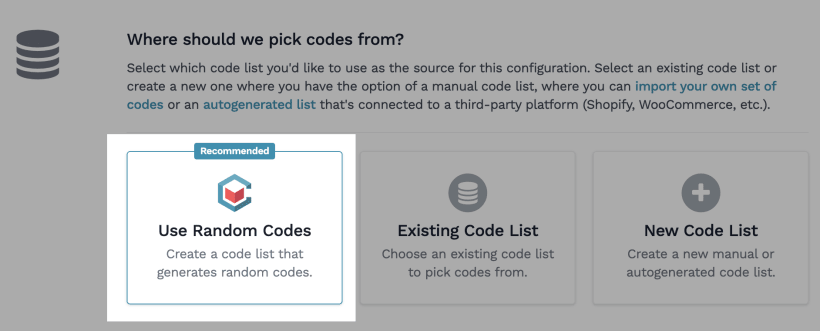
For this example, each recipient gets a randomly generated internal code. The guest does not need to see it; Coupon Carrier uses it to keep each voucher separate. Select the option to generate a random code for each recipient.
Once the page and code source are ready:
At the top of the Redeem Link configuration page, Coupon Carrier shows the exact link or merge tag to add to your selected email service.
Send yourself a test voucher and walk through the Mark as Used flow on your phone. Try it the same way staff will see it during service: open the voucher, check the offer, tap the button, then make sure the voucher cannot be used again.
Get a restaurant test voucher | Restaurant and retail use cases