You want to hand out coupons that customers redeem in your store. You don't want to mess with POS integrations or import spreadsheets. Fair enough.
Coupon Carrier has a built-in wizard that walks you through the whole thing. You pick a template, customize your offer, and test it before you send a single coupon. This guide follows that wizard step by step.
This guide covers QR code scanning specifically. If you're not sure whether you need scanning or a simpler Mark-as-Used setup, see which validation method to use first.
When you open Coupon Carrier for the first time, the onboarding wizard starts automatically. Pick "In-Person Redemption." This sets everything up for QR code coupons that get validated at your counter, no POS connection needed.
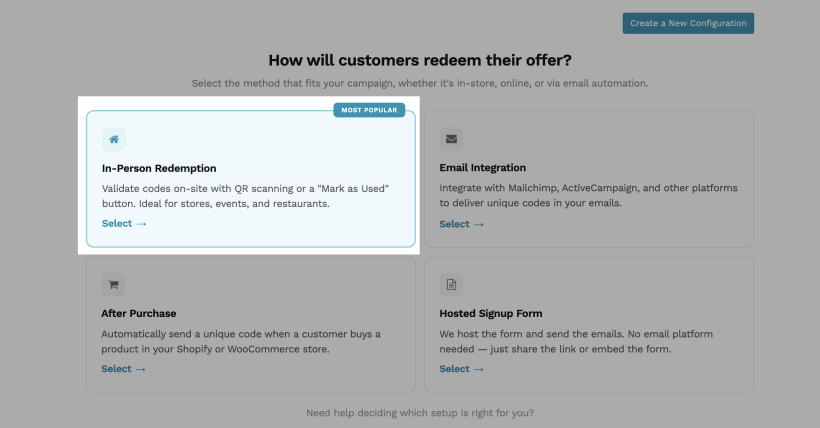
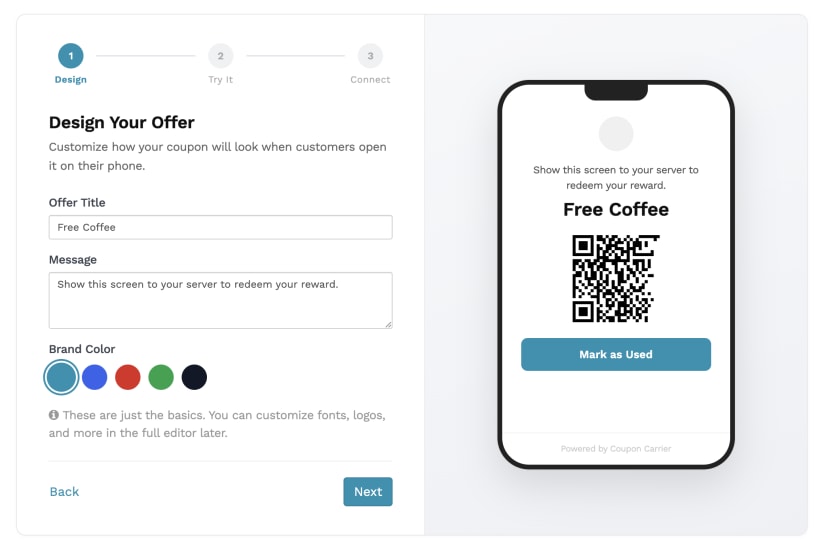
You customize what the customer sees: the offer name, the look of the voucher, your brand color. The QR code is generated automatically. You don't need to create or upload anything. What you see in the preview is what your customers get.
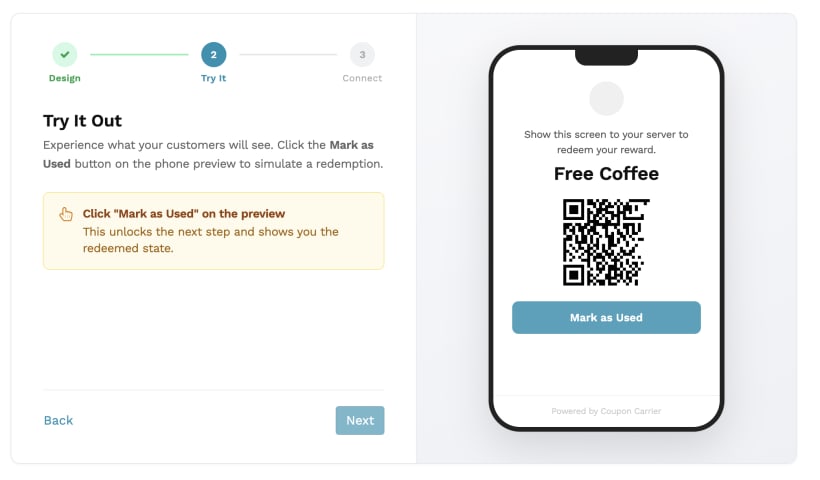
This is the step that matters most. "Try It" sends you a real test coupon. Open it, see the QR code, tap "Mark as Used" to simulate a redemption.
Watch the status change from valid to used. That state change is the entire system working: one code, one use, done. If you skip this step, you're launching blind.
Each customer needs a unique, single-use code. That means each person has to be identified before they get their offer. There are two ways to do this:
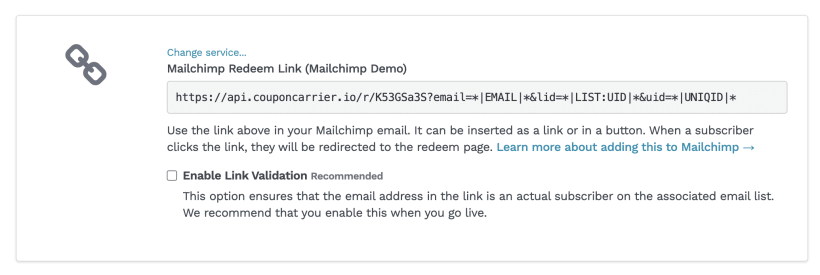
Connect your email platform — Mailchimp, ActiveCampaign, or another supported service — to automatically send unique codes to your subscribers. Each recipient gets their own code as part of a campaign or automation.
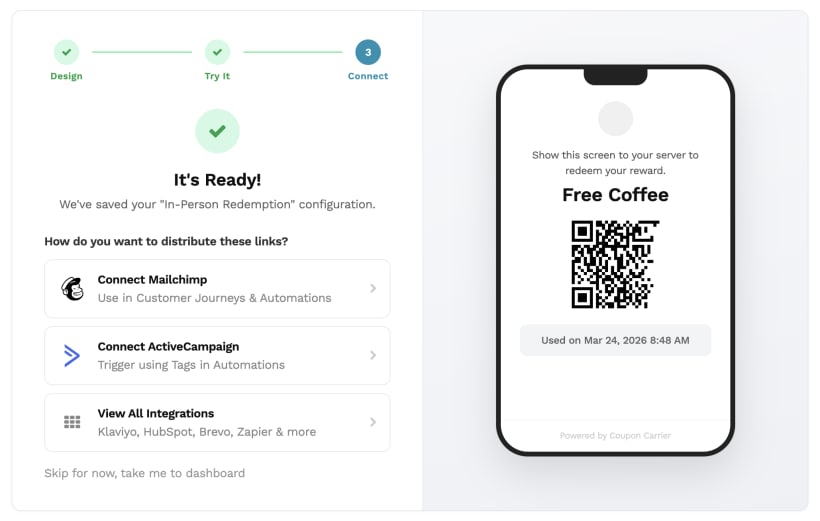
If you don't use an email platform, you can use a hosted signup form instead. Customers enter their email and instantly receive a unique code. No integration needed.
Each customer must be identified (usually via email) to receive a unique, single-use code. This is what prevents reuse and makes redemption tracking reliable.
Once your distribution method is set up, customers receive a link where they can view their unique QR code and redeem it in-store. If you're using an email integration, you'll find a coupon link in your configuration dashboard to add to your email template. If you're using the signup form, customers get their code right after signing up.
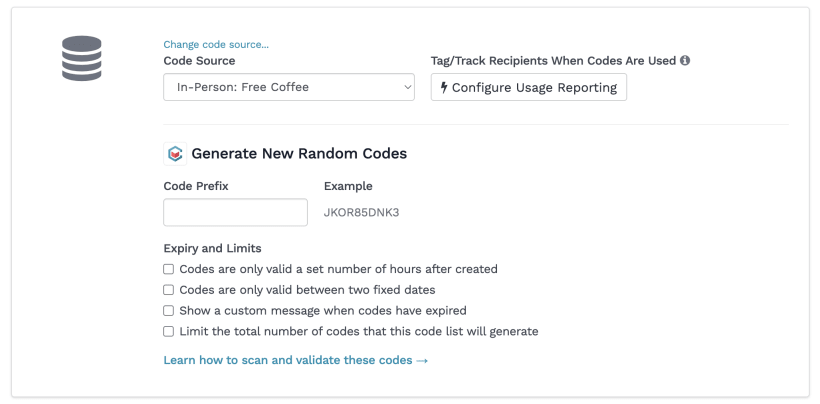
Coupon Carrier generates them for you. Every customer gets a unique code automatically. No spreadsheets, no CSV uploads, no prep work.
If you already have your own codes from another system (like a POS or an e-commerce platform), you can import those instead. But for most in-store promotions, the built-in generator is all you need.
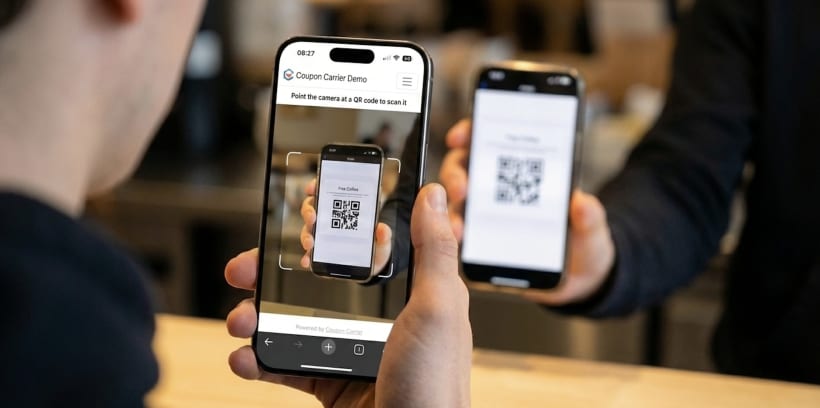
Once you're set up, this is what happens at the counter:
Each code can only be used once. After redemption, any future attempt shows "Used." Staff doesn't have to remember anything or make judgment calls. For more on what staff sees during scanning and how different statuses work, see How to Redeem QR Code Coupons In-Store (Without a POS System).
When you first test your setup, you'll use the "Mark as Used" button to redeem codes manually. That works for getting started and for smaller promotions.
When you need something faster, like multiple locations or higher traffic, switch to the QR code scanner. Staff opens a scanner page on their phone, points the camera at the customer's QR code, and the system validates and redeems it on the spot. No app to install. It runs in the browser.
Before you send coupons to real customers, run a real test. Send yourself the email, open it on your phone, click the link, and scan the QR code with the scanner — the same way a customer and your staff would do it in the store. That's the only way to know everything works end-to-end: the email, the link, the voucher page, the QR code, and the scan.
Most problems come from skipping this step. The wizard simulation is helpful, but it's not the same as going through the actual flow with a real email and a real scan.
Sign up and select "In-Person Redemption" when the wizard opens. You'll have a working QR code coupon in under 2 minutes, and you can test the full redemption flow before sending anything to customers.